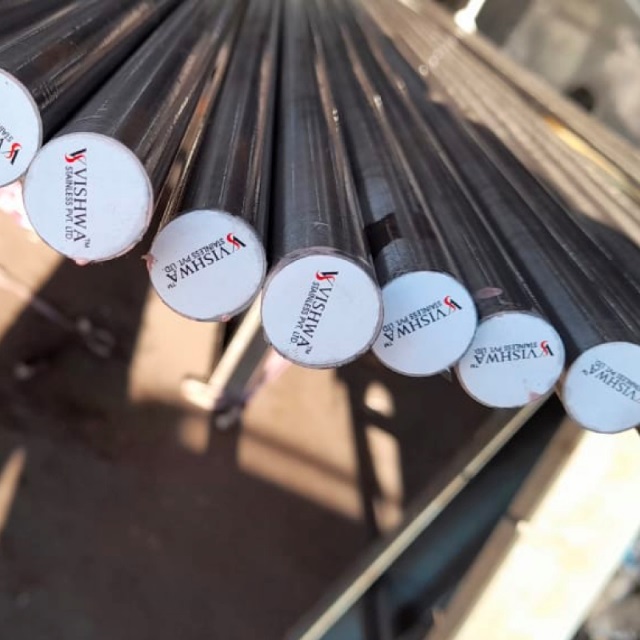
Vishwa Stainless Pvt. Ltd. specializes in manufacturing the Best Class-2 Bars in India.
Strain-hardened stainless steel refers to the stainless-steel alloys that have been plastically deformed by cold forming at low temperatures. The mechanical deformation leads to a reduced cross-sectional area, improved strength and reduced ductility. However, the strain hardening process does not alter the chemical properties and the resulting stronger stainless steel retains its high corrosion resistance properties.
The austenitic stainless-steel work hardens at a rapid rate as compared to the Ferritic, Martensitic stainless-steel types that have limited strain hardening capabilities. The high ductility of austenitic stainless steels allows them to be heavily cold-formed into deep-drawn products with high strength levels and useful levels of toughness and ductility. Strain hardening increases the strength of the stainless steel without affecting the chemical properties such as corrosion resistance
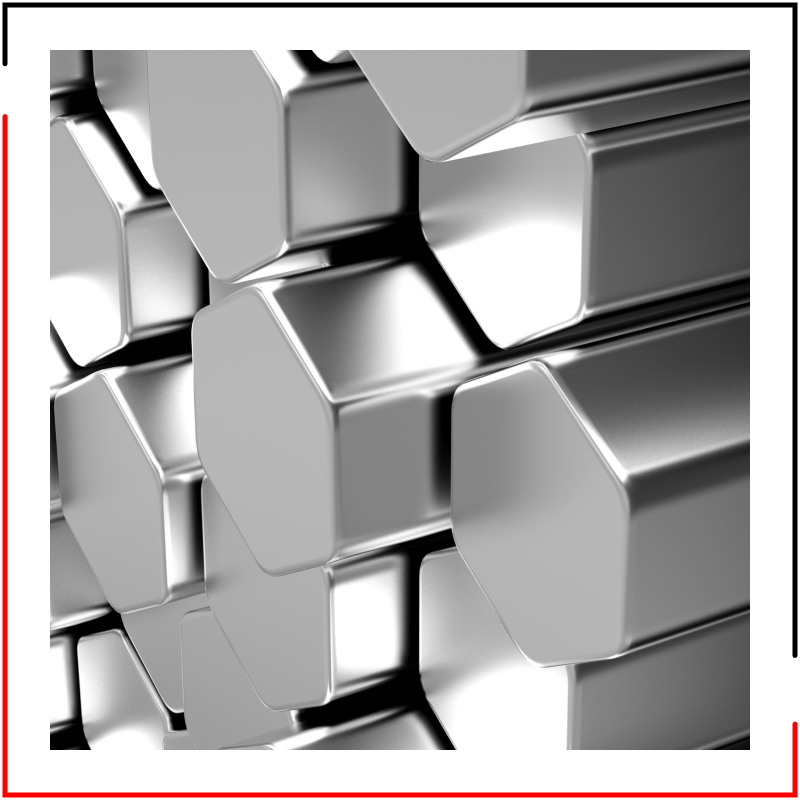
Available Grades For Stainless Steel Class-2 Bars:
- Stainless Steel Class-2 Bar 304 Grade,
- Stainless Steel Class-2 Bar 1.4301 Grade,
- Stainless Steel Class-2 Bar 1.4307 Grade,
- Stainless Steel Class-2 Bar B8N Grade,
- Stainless Steel Class-2 Bar 1.4305 Grade,
- Stainless Steel Class-2 Bar B8M Grade,
- Stainless Steel Class-2 Bar 316L Grade,
- Stainless Steel Class-2 Bar 316N Grade,
- Stainless Steel Class-2 Bar 316Ti Grade,
- Stainless Steel Class-2 Bar 321 Grade,
- Stainless Steel Class-2 Bar 1.4541 Grade Series.
- Stainless Steel Class-2 Bar B8 Grade,
- Stainless Steel Class-2 Bar 304L Grade,
- Stainless Steel Class-2 Bar 304N Grade,
- Stainless Steel Class-2 Bar 303 Grade,
- Stainless Steel Class-2 Bar 316 Grade,
- Stainless Steel Class-2 Bar 1.4401 Grade,
- Stainless Steel Class-2 Bar 1.4404 Grade,
- Stainless Steel Class-2 Bar B8MN Grade,
- Stainless Steel Class-2 Bar 1.4571 Grade,
- Stainless Steel Class-2 Bar B8T Grade,
Standards for Stainless Steel Class-2 Bars:
ASTM A193, ASTM A276, ASTM A479, EN 10088-3
| Size: | 5.00 MM to 76.2 MM |
| Tolerance: | h8, h9, k12, k13, Customize tol. |
| Length: | 1 to 6 meters & as per customer requirement |
| Finish: | Cold Drawn, Centreless Ground |
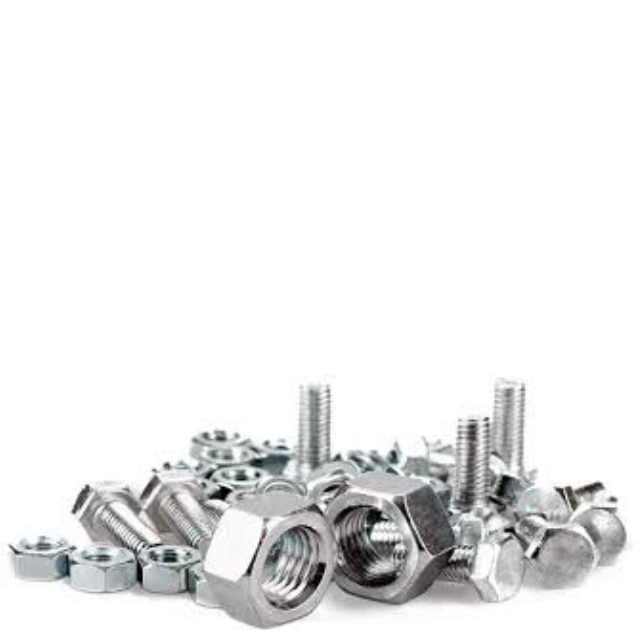
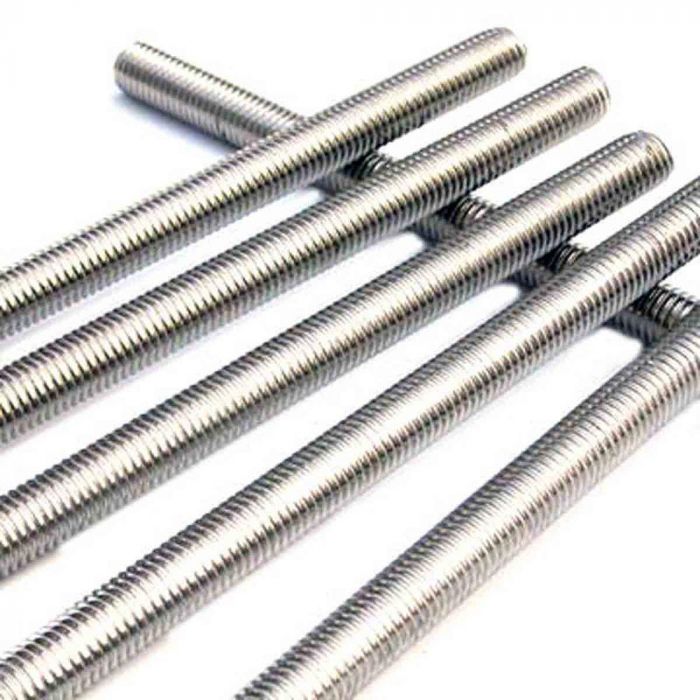
| Applications: | High tensile bolts, screws, stud bolts, anchor bolts, threaded rods & other externally threaded |
Fasteners. austenitic stainless steels for high temperature or high-pressure service and other special purpose applications.
Concept Of Strain Hardening And Effects Ff mechanical Workings
Advantages of Metal Working Process
- Product with consistent high quality can be manufactured.
- Defects such as porosity and discontinuities are minimized.
- Inclusions get distributed evenly throughout the product.
- Grains are oriented in a particular direction and directional properties are obtained.
- In hot working the grains will be uniform and the properties are also uniform.
- In cold working the properties are enhanced due to strain hardening effect.
- Large tonnage can be easily produced.
- The process can be easily mechanized.
Limitations of Mechanical Working Process
- The product becomes highly anisotropic in nature.
- Final product has to be obtained after machining of the wrought product except in the case of structural components.
- Needs additional equipment and machinery for metal working process. Hence, initial investment is high.
- Maintenance cost is high.
- More safety precautions are to be exercised as hot metal and additional equipment’s are used.
Concept of Cold Working
Consider a cylindrical metal piece with a known height, H and diameter, D. Let us subject the piece to compressive load at room temperature. We shall take that the height is reduced by 10%,20%,30% ….. etc., Each of these reduction in height represents %cold working. For each of these the diameter the Tensile strength, hardness, yield strength, %elongation were measured. It is seen that the %elongation decreases with increase in %cold working whereas other properties UTS, YS, Hardness increases and the diameter of the specimen also increases as shown in the figure. Similarly, the specimen can be subjected to tensile load also. The changes that take place in the material due to cold working is an important aspect which needs to be born in mind while designing various steps in MW process.
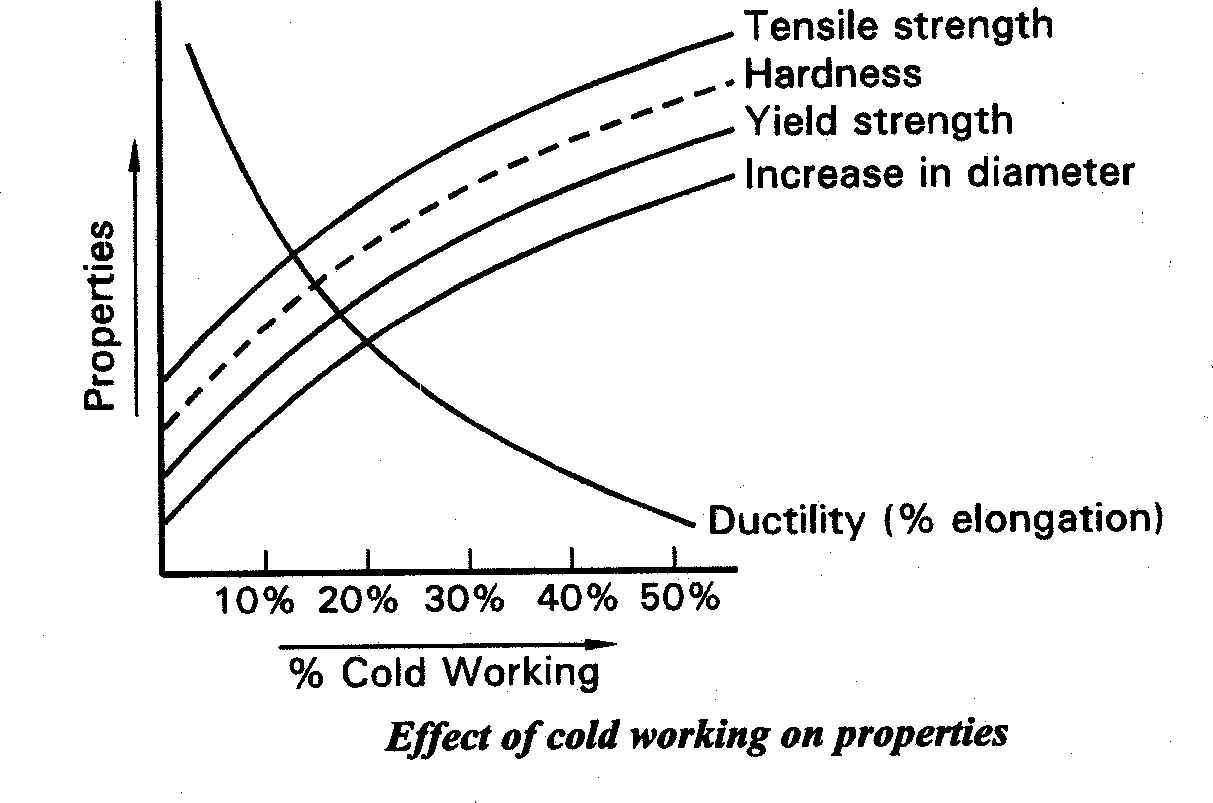
Effect Of Mechanical Working On The Properties Of The Metal
Due to working of the metal there will be changes in the grain structure. The grains may be elongated in one direction from its equiaxed shape. The pores are reduced and the inclusions are fragmented and distributed evenly in the metal. In hot working the coarse equiaxed grains will become fine equiaxed. The changes obtained in cold working is appreciable. The behavior of the metal with changes in grain size is shown in the figure. As grain size becomes coarse the strength property comes down and ductility increases.

As the percentage of cold working increases the material becomes strain hardened, the hardness and strength properties are increased but the ductility property decreases as shown in the figure.

It can be summarized as follows. Equiaxed grains will give uniform properties in all directions. Deformed grains show higher strength properties in the elongated direction.
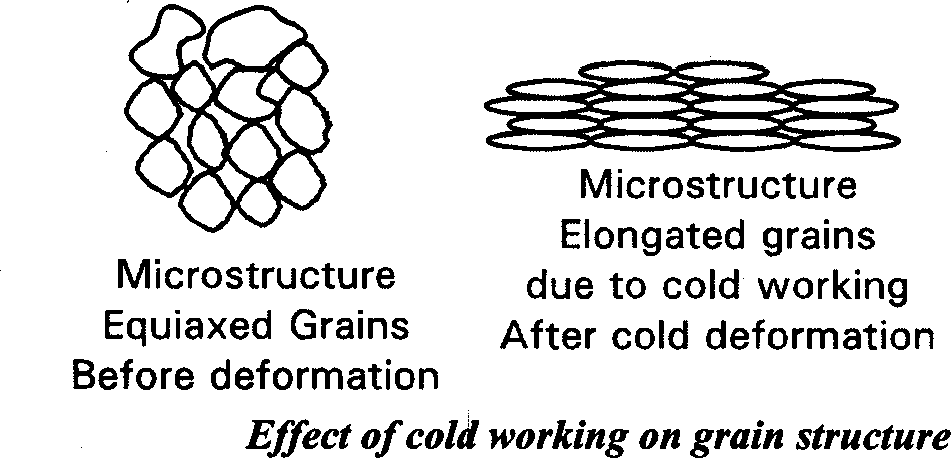
Concept Of Strain Hardening
Straining of the metal/alloy occurs when subjected to cold working process. The metal will show more and more resistance for the external load as the cold working is Continued. At some it may become very difficult to deform the metal. This phenomenon is referred to as strain hardening effect. This can be explained in simple terms as given below. All metals have atoms arranged in a repetitive manner in three dimensions referred to as crystalline structure. The structure is associated with imperfections in the form of dislocations. These dislocations starts moving towards the grain boundary region under the influence of external load. The dislocations get piled up near the grain boundaries. The density of dislocations increases due to Frank Reed source and may reach a value as high as 108-1012/cm2. Since, dislocations pile up near the grain boundary the density increases and the mean free path for the movement of dislocations decreases. The metal offers more resistance to external force. The metal will realize higher strength and this goes on building up till all the dislocations are brought near the grain boundary. Then annihilation of like and unlike dislocations takes place. The net existing dislocations will then become effective. During this period the load required for deformation increases. This phenomenon is referred to as” Strain Hardening”. If the cold working stress exceeds this range the metal will fracture.
To take care of this the metal is subjected to annealing before further working. In Mechanical working of metals, the metal is subjected to external load and is deformed plastically. The given shape is obtained and is retained even after the removal of the load. The metal is subjected to stress and is strained. Hence, to understand the different mechanical working process, it is necessary to understand the stress strain relationship of metals, types of stress and strains, deformation process, theories used for the prediction of plastic deformation etc.,
For any special range requirement of grades and sizes or stainless steel Class-2 bars, call us today! +91-72111 24478
We manufacture export quality stainless steel hex bars and supply our ss bright hex bars in Australia, Germany, Italy, Poland, Spain, Netherlands, UAE (United Arab Emirates), Turkey, UK, USA, Canada, Lebanon, Iran, Saudi Arabia, Denmark, Mexico, Bangladesh etc.
